Monday, October 27, 2014

An Early Start

Lying in bed this morning I was determined to make a space for doing some miniatures even though we had a fairly busy day planned - but what to do?
 
I considered doing a little Halloween scene and entering a photo in Kyle Lefort's Halloween challenge. While traditionally we have not celebrated Halloween in New Zealand it is starting to be celebrated by some and I have always thought it would be fun to do a Halloween scene. However, as it is the 27th I have left it a bit late to do a good job - next year Kyle!
 
That led me to thinking about Christmas. Every year I say I will do a Christmas scene but again I always leave it too late. Not this year. I am making an early start. Today I started my Christmas scene. The box I am setting my Christmas scene in and around I purchased Christmas 2012. It is high time I got it out and did something with it.
 
As for the resident of the box, Edward Elf, he has been more than patient waiting for me to create his workshop. Edward Elf is the official Christmas decoration maker for Santa and also the decorator of the North Pole Christmas Tree.
 
I think the box is so beautiful I don't want to cover too much of it so he will just be sitting in the box with a few shelves and hooks inside to hold all the wonderful Christmas decorations he is going to create. Of course we will also need to create a North Pole Christmas tree eventually .

I have previously blogged about the box and about Edward here:
http://myrtlemanorminiatures.blogspot.co.nz/2013/04/thinking-of-christmas-meet-edward.html

Edward Elf was made by Melanie Frank in Germany.
Melanie's blog is http://pippibaerenbande.blogspot.de

The front of the box.

Inside the box.

Edward Elf.

I love his oversized feet.

Edward is busy working on a paper chain (made by me).

I recently got a large jar of 'seconds' gems from an op shop. Some have little chips or are not quite the shape they should be but many of them are just fine for enhancing some of the lovely detail on the box.

Some of the gems.


Unfortunately it is a dark gloomy and wet day here today so very hard to take photos showing the gems but hopefully the above gives you an idea of what I am working on at the moment.
 
I need to think about what I am going to do for shelving and hooks now. Hopefully I will have solved that dilemma before my next post.
 
See you then.

Saturday, October 18, 2014

Scullery Table

I had a play day today - for the first time in weeks I ventured into my craft room and created. I made a scullery table for my Del Prado house.


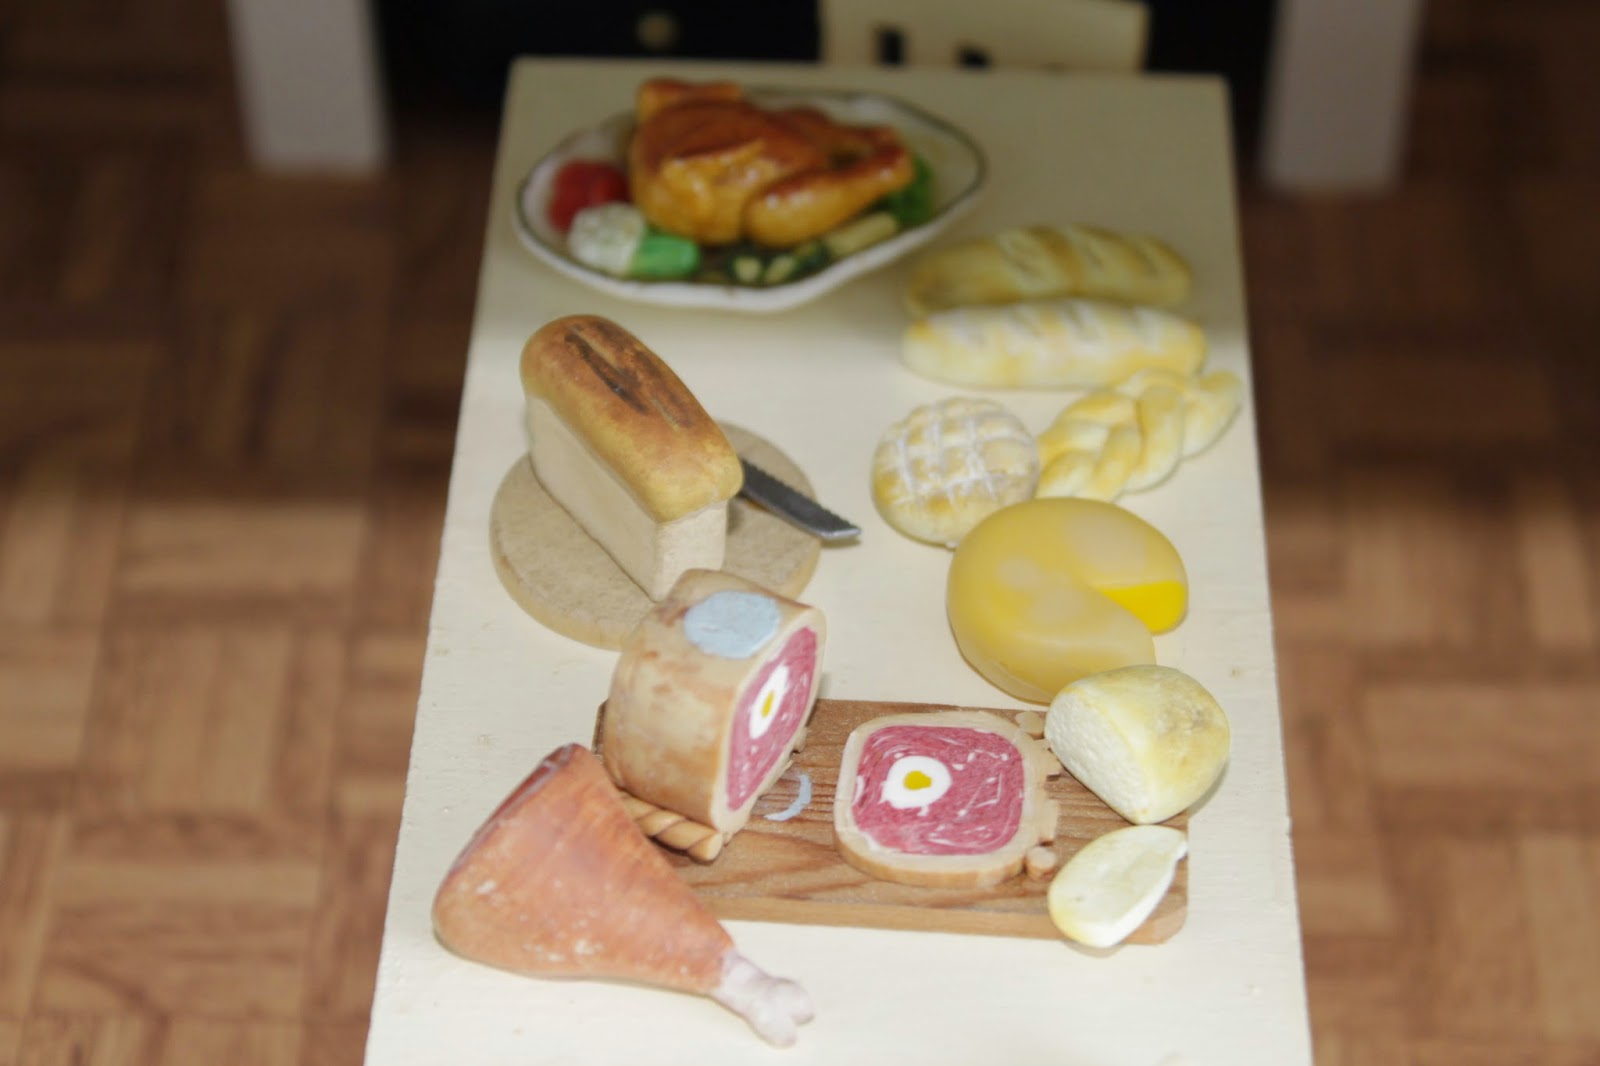
I grabbed a few items to put on the table to see the effect. I will probably make other items to 'dress' the table but this gives an idea of what it could look like.


Perhaps I need to have a go at miniature doll making. I think this 'busy' kitchen needs an equally busy cook.

I hope you are having a great weekend.

Sunday, October 5, 2014

In Hibernation

Hi blog friends. I'm still here in case you are wondering.
Life is getting in the way of miniatures a bit at the moment but I will get back into it. We will see what next weekend brings.
I have to confess I am about seven weeks behind on reading your blogs at the moment with no chance of catching up so I apologise for not commenting lately. I have seen the odd blog entry over that time but not many. I am sure I have missed out on many fabulous photos and writings over that time.
I am also aware I have not entered anything on this blog for a few weeks.
I hope all is well with you all. I will definitely be trying to keep up with your blogs from today again and hopefully you will inspire my dormant creative spirit.

Sunday, September 7, 2014

Kitchen Progress

So far this weekend I have avoided all the housework that needs doing but it is now getting the better of me and I really must get on with it. Before I get out the vacuum, cloths and cleaners though I want to give you an update on the Del Prado kitchen.
 
I have fast come to the conclusion I cannot keep the house true to the Del Prado original design. I just wouldn't be happy with it.
 
The hutch below is the kitchen cupboard that came with the kit:

 
It is quite sweet but it isn't going to hold much, especially as the doors are non-working. I will paint it white and keep it in the kitchen with some desserts on the counter.
 
Therefore my project this weekend has been to build some basic oversized Victorian shelves. At this stage I have gone through my stash and found some foods and kitchen items but I need to do a bit of research on what was available in Victorian times e.g. did they have pumpkins, cabbages, cannisters, mouse traps etc? Some things will come, some things will go, I will fill up the jars and make some more food and kitchen items.
 
I have also at this stage replaced the Del Prado sink kit with a ceramic one but I have decided I will make a large deep sink with sloping wooden drainer as were common in Victorian kitchens.


I have also thrown some foods on the Del Prado kit table.


This table will also be replaced. I have decided I want this as a 'working' kitchen. I would rather have a large food preparation table in the middle of the kitchen than a small dining room table and chairs. There will be a shelf under the table to house pots and pans etc. We will just have to pretend the dining room is elsewhere.

 
I will definitely be replacing the kitchen light and probably will re-cover the floor. Looking at the above picture I am now thinking the stove looks a bit small and I might have to scratch build a stove as well.


I think with the shelves it is starting to look a bit more like a kitchen. I will do a bit of research on Victorian kitchens later today but in the meantime it is time for housework!!!

I hope you are all having a great weekend.

By the way it is Father' Day in New Zealand today so happy (NZ) Father's Day to all you dads out there.

Sunday, August 31, 2014

Kitchen Renovation

I've made a start with the renovation of my Del Prado dolls house. I am trying to just make do with supplies I have to hand and found a tile patterned piece of wallpaper that I have used in the kitchen on the bottom half of the walls. I have left the pale green wallpaper that was already there on the top half.

I have given the chimney where the cooker sits an undercoat of gesso after filling in some gaps with polyfiller and sanding. It will need a few more coats of gesso and some more sanding yet but I think I prefer the white to the cream colour. I think I am going to repaint all the kitchen furniture white, perhaps with blue accents. I have used the same tile wallpaper to back the chimney and have inserted a brick floor in the chimney using a bit of plastic brick sheet I found in my stash.

I was going to do up the cooker but then remembered I had one the same size in my stash so I replaced it with that. I can do up the other cooker another day for another project.

Anyway, here are a few pictures:

 The kitchen as it was.
 
 The chimney and cooker as they were.
 
The tile wallpaper added to the bottom half of the walls. 
 
 The new cooker in the renovated kitchen.
 
The cooker inset in the chimney with tile backing.

 The brick floor of the chimney.
 
The kitchen.
 
I really want to replace that light shade but I'm not sure how I am going to do that yet as everything is wired and glued in. I'm sure I'll come up with some solution.
 
Lots of gesso-ing and sanding for me this week while I work on the rest of the kitchen furniture.
 
I hope you are having/have had a great weekend.


Sunday, August 24, 2014

New Project(s).

A few days ago I got an email from my friend Susan. The only other miniaturist I am aware of in our town. In it she said:

"I have a dolls house that I am going to get rid of. It is the house that you could get years ago with a magazine and it built up with the parts they gave you. It isn’t completely finished but nearly.  I was wondering if you would like it." 

Well, yes please! At the time I was trying to decide what I could work on next - dilemma solved. On Thursday I went and picked up my Del Prado dolls house. I also had the chance to have a look at Susan's dolls houses and her compact but fabulous and very organised craft room.

I walked away the happy owner of a new house/project and with the realisation that my craft room could be so much better organised.

So this weekend after the housework was done I was into my craft room to try to get it a bit more organised. Also, as I needed to fit in another dolls house the decision was made that I needed to spill out into the hallway. I can no longer contain my hobby to one side of the spare bedroom. I told myself that other than do a quick stocktake and take a few photos of the house for a blog entry I would not play with the house until my craft room is totally sorted (progress report - it is still far from complete).
 
I am really pleased with the house. Susan bought the house second hand from a lady who had done most of the house and some of the furniture but I will probably refinished some of the furniture by sanding down and repainting. I will probably change at least one of the wallpapers and there is still quite a bit to complete including putting in all the stairs. I have tested the lights and they work and I have done a stocktake of all the parts that came with the Del Prado step by step kits and all I can see that is missing is the sitting room rug cross stitch pattern. The house did not come with any of the magazines or instructions so I will have to make things up as I go as far as the stairs and the other furniture kits go. This is probably not a bad thing as I would probably have done things my way anyway. The wood in the kits are not of the greatest quality but there is potential to 'upgrade' the kits and I will embellish them to suit. This is a challenge I will enjoy.
 
Anyway here are some photos of the house and furniture in its current state:


(with lights)


The resident family. 
 

The folder contains all the furniture kits not yet done.
There is also a bag of roof tiles and a bag of wallpapers etc.
 
Of course while the intention was not to play with the house until my craft room was organised I could not resist a little play. I had to put the furniture into the house.


Susan also gave me these three dolls which I will redress:


Susan has also been very generous to Jamie giving her this lovely doll:


She has also given Jamie this old Arthur dolls house that has seen better days so Jamie and I can do it up for the doll:


Susan got this house second hand from a lady who had put it together with a hot glue gun and over time it has fallen apart. It will do up nicely for Jamie's doll. Jamie has come up with the great idea  that it will be a wonderful two storey play house for the little girl where she can have tea parties with her dolls.
 
Jamie is thinking she now wants to start a blog to record the progress of her house too!
 
And finally, Susan has leant me a whole pile of miniature magazines to read which I am absolutely loving.
 
Thank you so much Susan. You have made a couple of girls very happy and I so enjoyed the guided tour of your craft room!
 
I hope everyone is having a great weekend. I know I am.

Sunday, August 10, 2014

Town Mouse & Country Mouse Book-Ends (almost) Complete

Well the book ends are almost complete - complete enough to do a final showing. I still need to find a small enough copy of the book "The Town Mouse and the Country Mouse" to go between the book-ends and do a few paint touch-ups here and there but other than that they are complete. In time when I can afford to I will put a battery light in each of the roof spaces so the houses can light up.

I cannot take credit for the cute little mice residents. They were made by a lovely lady back in the 1990s (sadly no longer with us) who was very clever with fimo. I have had them stored away all this time so I am sure they are happy to now have their own special houses.

Here are some photos:

 
This is Master Town Mouse's residence. 

 
He is especially proud of his bright red door and the plants either side. The plants were a gift from his cousin and great friend Country Mouse. Master Town Mouse found the grandest beads he could from the rubbish tip on the outskirts of the town to put them in (the things the big people throw out!).
 

Master Town Mouse is about to head indoors to have a cup of tea and a slice of camembert and watch out the side window of his house for Country Mouse who has promised to visit this afternoon.
 

This is Country Mouse's residence.
  

He loves the simple green door of his house which blends in with the beautiful countryside.
 
 
He has been out gardening but has put his shovel down to get ready to go and visit Master Town Mouse. He is hoping he will get a slice of Camembert cheese when he visits.
 
 
He might pick a bunch of flowers first to take to give to Master Town Mouse.
 
 
 Well I hope the mice cousins enjoy their afternoon together and I hope you are having a great weekend.
 
I'm off to think about what my next project will be.